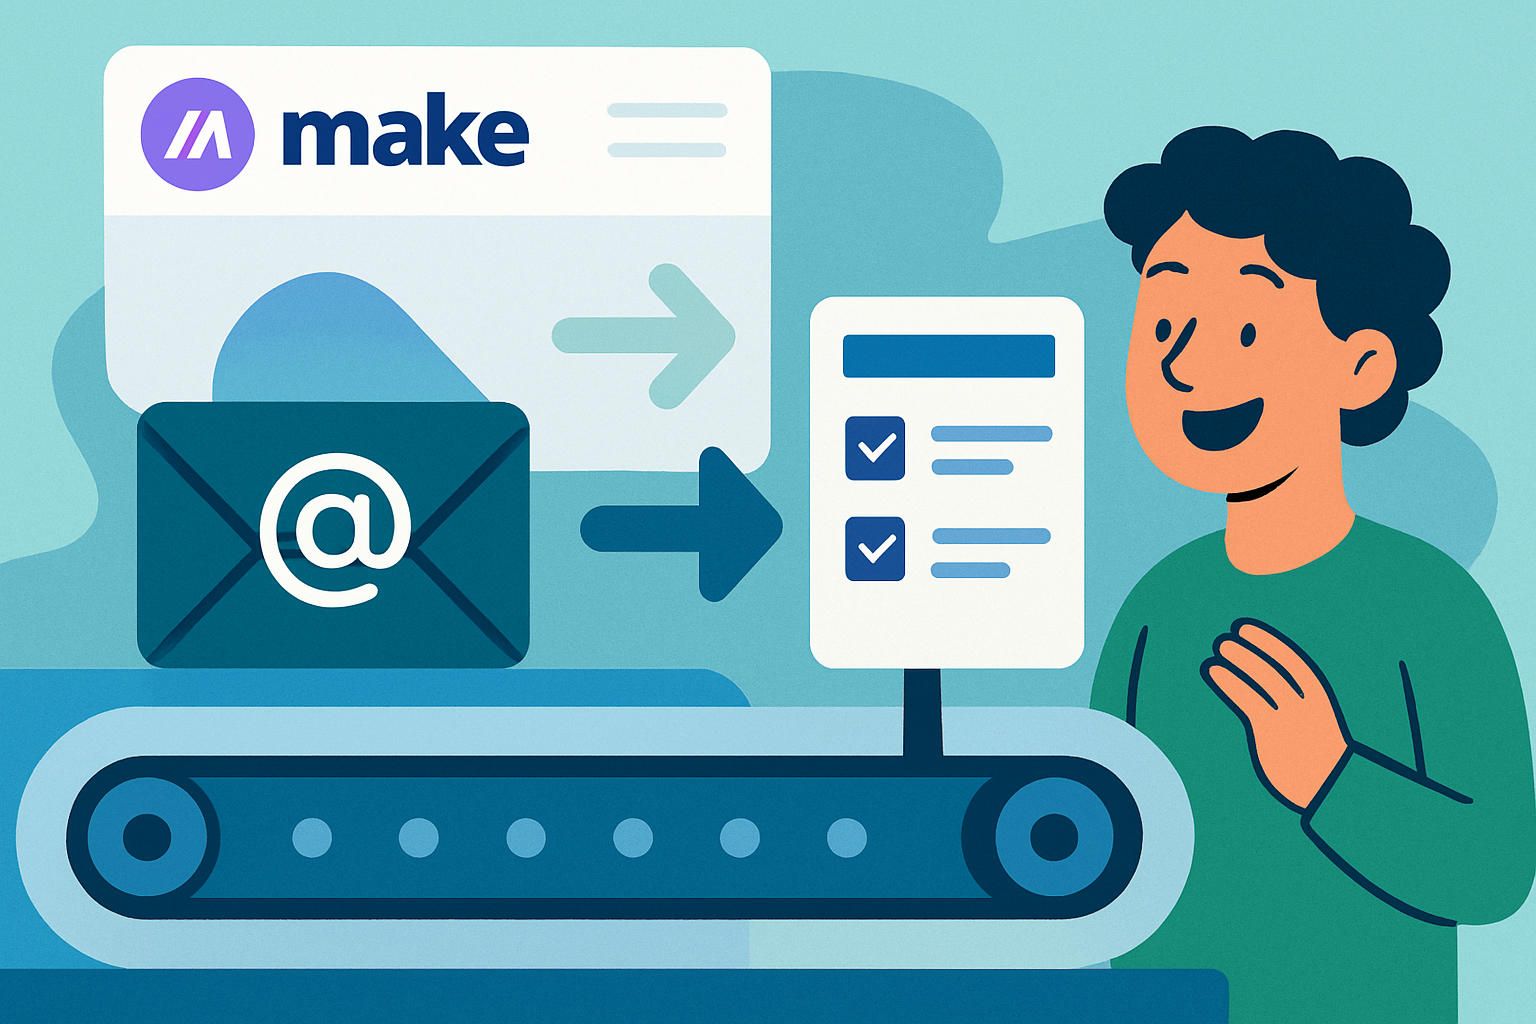
Email to Trello Magic: Automate Tasks in 5 Easy Steps
Transform email chaos into Trello tasks! This beginner-friendly guide shows you how to automate your workflow and boost productivity using Make.com.

Tired of Email Overload? Trello to the Rescue!
Are you drowning in emails, constantly forgetting to-dos hidden within endless threads? Imagine a world where every important email automatically becomes a manageable Trello task. Sounds good, right? This guide will show you how to make that happen, even if you're a complete beginner to automation.
We'll use a powerful (but super easy to learn) automation platform called Make.com to seamlessly connect your email inbox with Trello. No coding required, promise!
Why Automate Email-to-Trello?
- Stay Organized: Keep all your tasks in one place – Trello!
- Save Time: No more manual copy-pasting of email details.
- Reduce Stress: Eliminate the fear of missing important action items.
- Boost Productivity: Focus on doing, not just managing your inbox.
Step 1: Sign Up for Make.com
First things first, you'll need a Make.com account. It has a generous free plan to get you started. Click the link to sign up – we'll be using it extensively throughout this guide!
Once you've created your account, familiarize yourself with the interface. It's a visual, drag-and-drop platform, so it's much less intimidating than it sounds.
Step 2: Connect Your Email Account to Make.com
Now, we need to connect your email account (Gmail, Outlook, etc.) to Make.com.
- Create a new 'Scenario' in Make.com (that's what they call automated workflows).
- Click the big '+' button to add your first module.
- Search for your email provider (e.g., 'Gmail', 'Microsoft 365').
- Select the trigger module – typically something like 'Watch emails' or 'New email'.
- Follow the on-screen instructions to connect your email account. You'll likely need to grant Make.com permission to access your inbox.
Step 3: Configure the Email Trigger
The trigger tells Make.com when to start the automation. Here's where you tell it to look for new emails based on specific criteria:
- Folder: Specify which folder to monitor (e.g., Inbox, a specific label).
- Filter (Optional): Set filters based on sender, subject line, or keywords to only trigger for relevant emails. For example, you might only want to create Trello tasks for emails with 'ACTION REQUIRED' in the subject.
- Mark as Read: Choose whether to automatically mark the email as read after it's processed.
Step 4: Connect to Trello
Next, we'll connect Make.com to your Trello account. Just like with email, you'll need to authorize the connection.
- Click the '+' button again to add another module.
- Search for 'Trello'.
- Select the 'Create a card' action.
- Connect your Trello account by following the prompts.
Step 5: Map Email Data to Trello Card Fields
This is where the magic happens! We'll tell Make.com which parts of the email should go into the Trello card. Think of it like filling out a form, but the data comes from your email.
- Board ID: Select the Trello board where you want the tasks to be created.
- List ID: Choose the list within that board (e.g., 'To Do', 'In Progress').
- Name: Use the email's subject line as the card name. Click in the field and you will see the available options pulled from the email module
- Description: Add the email body to the card description.
- Due Date (Optional): If the email contains a deadline, you can extract it and set it as the card's due date. Make.com has powerful date parsing capabilities, but you may need to experiment with different date formats.
Test and Activate Your Scenario
Before you unleash your automation on the world, test it out! Make.com lets you run a test scenario to see if everything works as expected. Send yourself a test email that meets your trigger criteria and watch the Trello card get created.
If everything looks good, activate your scenario! Now, any new emails that match your criteria will automatically create Trello tasks. Congratulations, you've just automated a significant part of your workflow!
Advanced Tips
- Prioritize Tasks: Use Trello labels to categorize tasks based on urgency or importance. You can even automate the assignment of labels based on keywords in the email.
- Add Attachments: Include email attachments in your Trello cards. This keeps all relevant information in one place.
- Multiple Emails: Create separate scenarios for different types of emails and Trello boards.
Embrace the Power of Automation
Automating your email-to-Trello workflow is just the beginning. Make.com can connect to thousands of other apps and services, allowing you to automate almost any task you can imagine. Explore the possibilities and discover how automation can transform your productivity!
Frequently Asked Questions
What does it mean to automate turning emails into Trello tasks?
It means setting up a system where, when you receive a specific type of email, it automatically creates a new task in your Trello board without you having to manually copy and paste the information.
How can a beginner use Make.com for email-to-Trello automation?
Make.com provides a visual, drag-and-drop interface where you can connect your email account and Trello. You define the triggers (e.g., new emails with certain keywords) and actions (e.g., create a Trello card with the email's subject and body).
Is Make.com difficult to learn for someone new to AI/automation?
No! Make.com is designed to be user-friendly, especially for beginners. It uses a visual interface, so you don't need any coding knowledge. Plus, there are plenty of tutorials and documentation available to help you get started.
What kind of emails should I automate turning into Trello tasks?
Focus on emails that contain action items, requests, or information that requires you to do something. Examples include project assignments, customer support tickets, or reminders with deadlines.
Affiliate Disclosure: Some of the links on this site are affiliate links. I earn a small commission if you make a purchase through them—at no extra cost to you. Thank you for your support!